Creamy Custard Dream Bars are the kind of dessert that immediately captures attention. With their soft, golden top layer, rich custard filling, and tender bottom base, they offer a perfect balance of sweetness, creaminess, and comfort. This dessert has become popular in home kitchens because it is simple, satisfying, and ideal for any occasion. Whether you want a treat for your family, a special dessert to share with guests, or a sweet option for your content audience, these bars deliver a delightful experience in every bite.
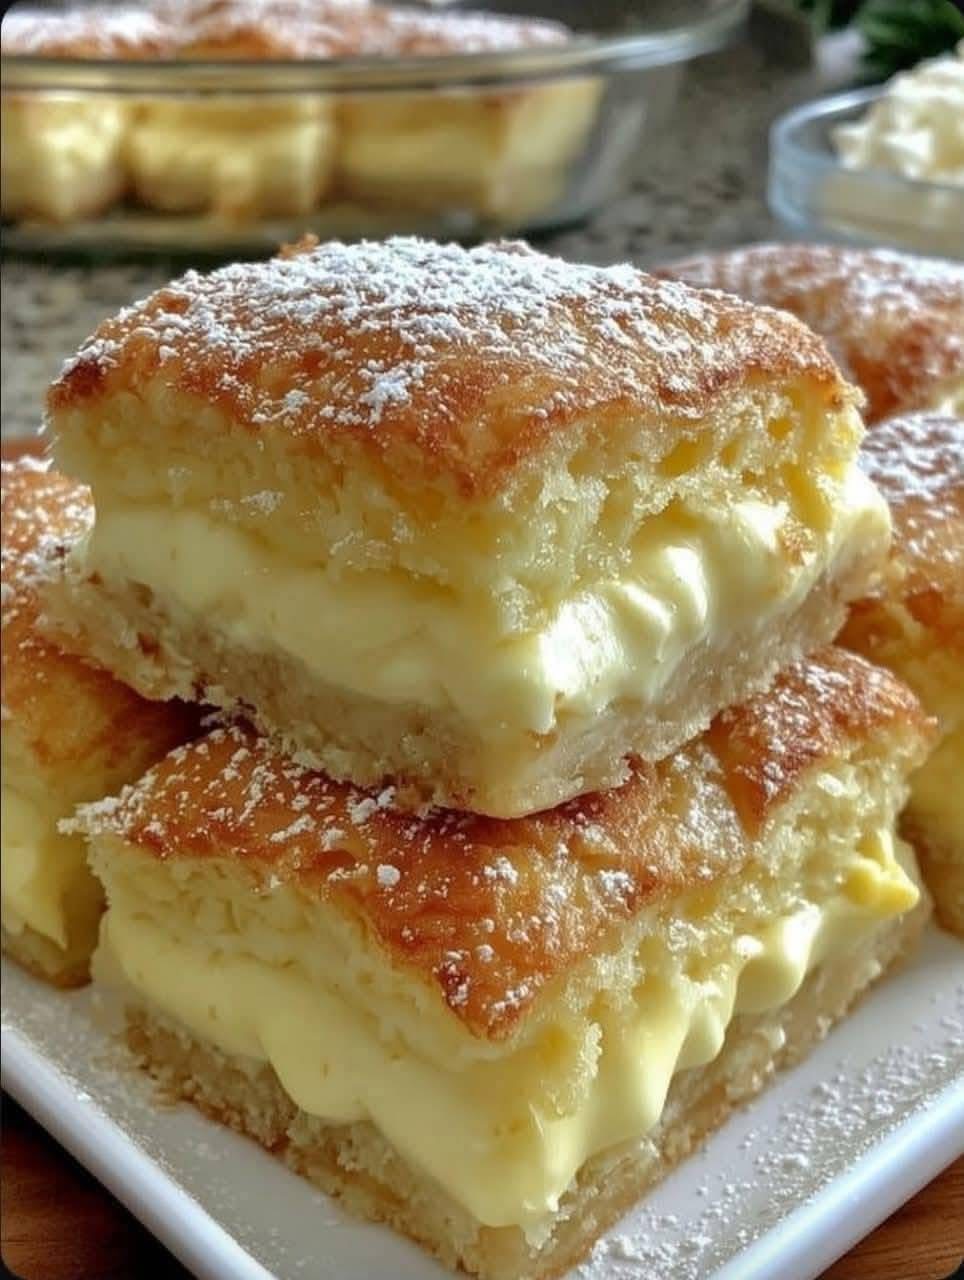
These bars combine textures beautifully. The bottom layer is soft and slightly chewy, the center is creamy and smooth, and the top is airy with a gentle golden crust. A dusting of powdered sugar gives the bars a charming finish and allows them to look bakery-quality without complicated steps. With just a handful of ingredients and a straightforward approach, this recipe is excellent for both beginner cooks and experienced bakers.
As people continue searching for easy desserts that look impressive, Creamy Custard Dream Bars stand out as a dependable favorite. They cut cleanly, store well, and taste even better when chilled. The ingredients are inexpensive, but the final result feels luxurious. That balance makes them especially appealing for food bloggers, recipe creators, and content sites where engagement and watch-through matter.
Below, you will find everything needed to prepare this dessert successfully: clear ingredient measurements, step-by-step instructions, helpful tips, and ideas for serving and storage. The recipe is written in a clean, SEO-friendly structure suitable for WordPress and optimized for high RPM AdSense.
Ingredients for Creamy Custard Dream Bars
• 2 cups all-purpose flour
• 1 cup granulated sugar
• 1 cup milk
• 4 large eggs
• 1 teaspoon vanilla extract
• 1 cup soft cream cheese or custard cream
• 1 tablespoon baking powder
• 1/2 cup unsalted butter, melted
• 1/4 teaspoon salt
• Powdered sugar for topping
These ingredients create a soft batter and a rich cream layer that melts into the cake as it bakes, giving every slice a smooth, velvety center.
How to Make Creamy Custard Dream Bars
Step 1: Prepare the Batter
In a large bowl, combine the melted butter, sugar, and eggs. Mix until smooth. Pour in the milk and vanilla, then blend again until everything comes together. In a separate bowl, whisk the flour, baking powder, and salt. Slowly add the dry mixture to the wet mixture, stirring gently to avoid over-mixing. The batter should be smooth and slightly thick.
Step 2: Create the Cream Filling
In another bowl, beat the cream cheese or custard cream until smooth and creamy. If the cream is too thick, add a tablespoon of milk to help soften it. The filling should be spreadable and silky.
Step 3: Assemble the Layers
Grease a baking dish and pour half of the batter into the bottom. Spread it evenly across the pan. Add the cream layer on top, making sure it stays centered instead of mixing with the batter. Pour the remaining batter over the cream, carefully covering it.
Step 4: Bake to Golden Perfection
Preheat your oven to 350°F (175°C). Bake the bars for 35 to 45 minutes, or until the top is golden and a toothpick inserted into the side (not the cream center) comes out clean. The bars will rise beautifully, and you will see a soft golden crust forming on top.
Step 5: Cool and Finish
Allow the dessert to cool completely before cutting. This helps the cream layer to firm up and creates neat slices. Dust the top lightly with powdered sugar to add a sweet finishing touch.
Why These Custard Bars Are So Popular
Creamy Custard Dream Bars offer several features that make them an excellent choice for content creators, especially those focusing on food niches:
• They photograph beautifully with their layers and powdered sugar finish.
• They are simple enough for beginner bakers but impressive enough for experienced ones.
• They use pantry ingredients, making them accessible to a wide audience.
• They appeal to readers searching for comfort desserts and easy baking ideas.
• They can be served at parties, holidays, or weekend family dinners.
Readers often save and share recipes like this because they deliver consistent results and create a satisfying dessert that everyone enjoys.
Tips for Perfect Creamy Custard Dream Bars
For a fluffier texture, avoid over-mixing the batter.
To enhance the flavor, add a teaspoon of lemon zest or a pinch of cinnamon.
To make a richer cream layer, mix whipped cream with the custard cream.
If you prefer a firmer bar, refrigerate the dessert for at least two hours before serving.
For a holiday version, add cherries or raspberries between the layers.
Serving Ideas
These bars taste delicious on their own, but you can elevate them by serving with:
• Warm vanilla sauce
• Fresh berries
• A scoop of ice cream
• Sweet whipped cream
• Caramel drizzle
For gatherings or celebrations, cut the bars into small squares and arrange them on a dessert platter. They look elegant and inviting, especially when topped with a light dusting of powdered sugar.
Storage and Make-Ahead Instructions
The bars keep well in the refrigerator for up to five days. Store them in an airtight container to maintain their moisture and prevent the cream from drying. You can also freeze them for up to two months; just wrap each piece individually and thaw before serving.
This ability to store and freeze makes the dessert ideal for busy families and content creators who want reliable recipes that stay fresh for longer.
Final Thoughts
Creamy Custard Dream Bars are one of those desserts that feel nostalgic, comforting, and luxurious all at once. With simple ingredients and a dependable method, this recipe is perfect for anyone seeking a dessert that melts in the mouth and leaves a lasting impression. Its soft layers, creamy filling, and golden top make it a favorite for home cooks and dessert lovers everywhere.
Creating this treat requires nothing more than a mixing bowl, a baking pan, and a few ingredients, yet the final result looks like something from a bakery display. Whether you’re adding this to your WordPress site, your social media page, or your personal cookbook, it is a recipe guaranteed to satisfy.