If you love bite-sized treats that combine rich chocolate and creamy peanut butter, these homemade chocolate peanut butter balls are about to become your new favorite dessert. Soft on the inside, smooth on the outside, and perfectly sweet, these little chocolate bites are simple to make and incredibly satisfying. They require minimal ingredients, no complicated techniques, and deliver bakery-quality results every time.
These chocolate peanut butter balls are ideal for holidays, parties, snack boxes, or everyday cravings. Their round shape makes them easy to grab and share, while the chocolate coating adds a glossy, professional finish. One bite gives you a creamy, nutty center wrapped in silky chocolate, creating the perfect balance of flavors and textures.
Best of all, this is a no-bake recipe, which means less time in the kitchen and more time enjoying your treats.
Why You’ll Love These Chocolate Peanut Butter Balls
There are many reasons why this recipe is so popular. First, it is extremely easy and beginner-friendly. You don’t need an oven or special equipment. Just mix, roll, dip, and chill.
Second, the flavor combination is unbeatable. Peanut butter and chocolate naturally complement each other. The sweet chocolate shell contrasts beautifully with the soft, slightly salty peanut butter filling.
Another bonus is convenience. These treats store well, travel easily, and can be made ahead of time. They are perfect for meal prep, lunchboxes, or gifting.
Ingredients You’ll Need
- 1 cup creamy peanut butter
- 1/2 cup unsalted butter, softened
- 2 cups powdered sugar
- 1 teaspoon vanilla extract
- 2 cups semi-sweet chocolate chips
- 1 tablespoon coconut oil or vegetable oil
Optional additions:
- Crushed nuts
- Cocoa powder
- Shredded coconut
- Sprinkles
- Sea salt flakes
How to Make Chocolate Peanut Butter Balls
Start by preparing the peanut butter mixture. In a large bowl, combine softened butter and peanut butter. Mix until smooth and creamy.
Add powdered sugar gradually, mixing well after each addition. Stir in vanilla extract. The mixture should be thick, smooth, and easy to shape.
Using your hands or a small scoop, roll the mixture into small balls, about one inch in diameter. Place them on a lined tray. Once all balls are formed, refrigerate for 30 minutes to firm up. Chilling helps them hold their shape when dipping in chocolate.
Next, melt the chocolate chips with coconut oil in a microwave-safe bowl. Heat in short intervals, stirring until completely smooth and glossy.
Using a fork or toothpick, dip each peanut butter ball into the melted chocolate, ensuring it is fully coated. Let excess chocolate drip off before placing it back on the tray.
Once all balls are coated, refrigerate again for 20 to 30 minutes until the chocolate shell hardens.
Your chocolate peanut butter balls are now ready to enjoy.
Tips for Perfect Results
Use room temperature butter to ensure a smooth and creamy filling.
If the mixture feels too soft, add a little more powdered sugar. If too firm, add a small spoon of peanut butter.
Work quickly when dipping the balls into chocolate so the coating stays smooth.
For a decorative finish, sprinkle crushed nuts or sea salt on top before the chocolate sets.
Serving Suggestions
These chocolate peanut butter balls are perfect as bite-sized desserts after meals, afternoon snacks with coffee, or sweet treats at parties. They also make excellent homemade gifts when packaged in small boxes or jars.
You can serve them chilled for a firm texture or slightly softened at room temperature for extra creaminess.
They pair wonderfully with milk, hot chocolate, or espresso.
Storage
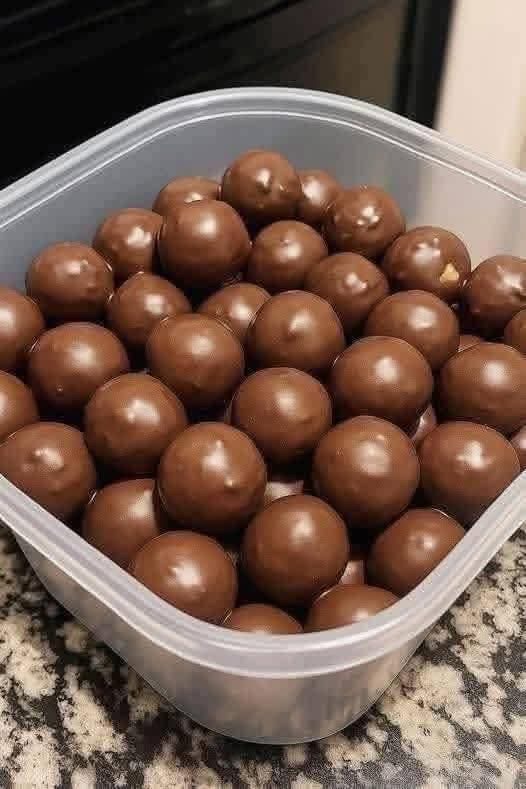
Store your chocolate peanut butter balls in an airtight container in the refrigerator for up to one week. For longer storage, freeze them for up to three months. Simply thaw before serving.
A Sweet Treat Everyone Loves
These easy homemade chocolate peanut butter balls combine rich chocolate, creamy peanut butter, and simple preparation into one irresistible dessert. With their smooth coating and melt-in-your-mouth center, they are guaranteed to satisfy any sweet craving.
Quick to make and impossible to resist, this recipe is one you’ll want to keep on repeat. Once you try them, you’ll always want a batch ready in your fridge.