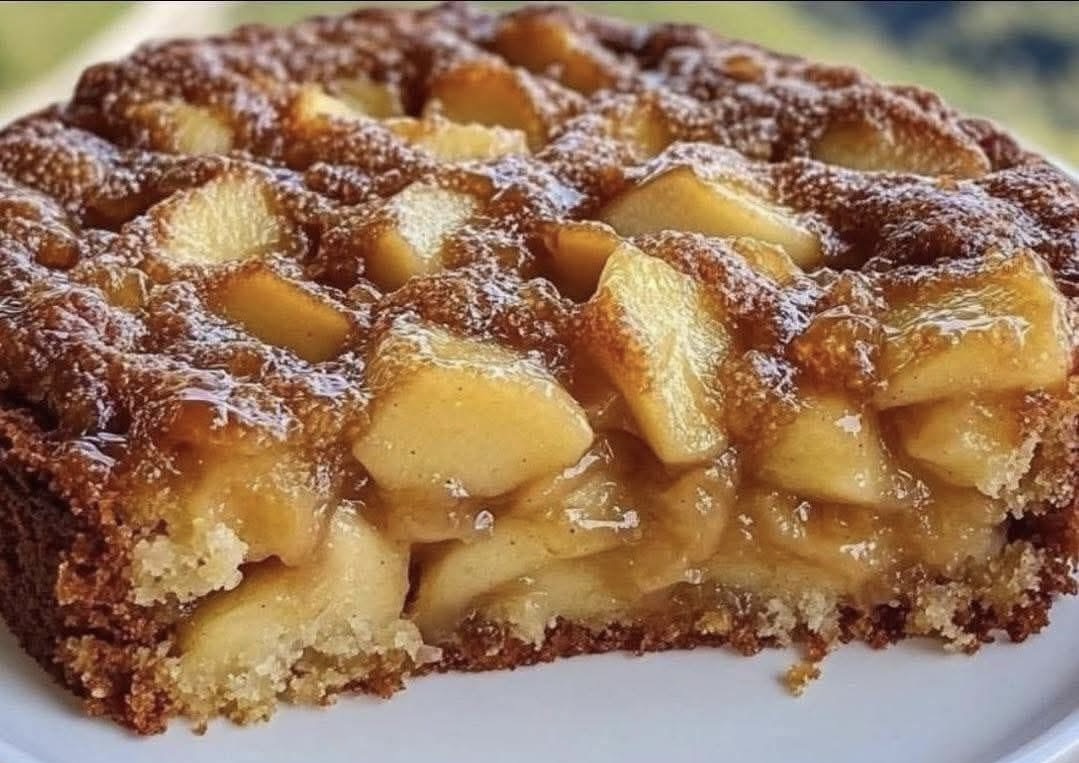
Apple caramel cake is one of those comforting desserts that never fails to impress. It combines tender pieces of apple, a soft buttery base, and a glossy caramel-like topping that melts into every bite. This cake is simple to make, requires no complicated tools, and delivers a warm and cozy flavor perfect for family gatherings, holidays, or a simple afternoon treat. The layers of soft apples and rich caramel create a dessert that looks impressive yet remains incredibly easy to prepare at home.
This recipe is ideal for anyone who loves fruit-based desserts but wants something easier than a traditional apple pie. It works wonderfully with fresh apples, whether you prefer sweeter varieties like Honeycrisp or something more tart like Granny Smith. The result is a moist, aromatic cake with a deep golden color and a beautiful shine on top. Each slice showcases juicy, tender apples coated in a warm blend of cinnamon, sugar, and butter.
Below you will find the full list of ingredients and step-by-step instructions to help you recreate this delicious apple caramel cake in your own kitchen.
Ingredients
For the Apple Layer:
- 4 large apples, peeled and diced
- 1/3 cup sugar
- 2 tablespoons brown sugar
- 1 teaspoon cinnamon
- 2 tablespoons butter
- 1 teaspoon vanilla extract
For the Cake Base:
- 1/2 cup softened butter
- 1/2 cup sugar
- 2 large eggs
- 1 teaspoon vanilla extract
- 1 1/4 cups all-purpose flour
- 1 teaspoon baking powder
- 1/4 teaspoon salt
- 1/3 cup milk
Optional Topping:
- Caramel drizzle
- Powdered sugar
- Vanilla ice cream
Instructions
Step 1: Prepare the Apples
Start by peeling, coring, and dicing the apples into small cubes. In a large pan, melt the butter over medium heat. Add both sugars and stir until they dissolve. Add the apples, cinnamon, and vanilla, then cook until the apples soften slightly and the mixture turns glossy. This step creates the caramel-apple mixture that gives the cake its rich and sweet flavor.
Step 2: Prepare the Cake Batter
In a mixing bowl, cream the softened butter and sugar until smooth. Add the eggs one at a time and mix well. Stir in the vanilla extract. In a separate bowl, whisk the flour, baking powder, and salt. Add the dry ingredients to the wet mixture in small portions, alternating with the milk. Mix just until combined to avoid overworking the batter.
Step 3: Assemble the Cake
Grease a baking dish and pour the cake batter evenly across the bottom. Spoon the apple mixture over the batter, spreading it gently so it covers the entire surface. The apples will sink slightly into the batter as it bakes, creating a beautiful layered effect with caramelized apples on top and a soft cake base underneath.
Step 4: Bake
Preheat the oven to 350°F (175°C). Bake the cake for 35–45 minutes or until the edges are golden brown and the center is fully set. You can test it by inserting a toothpick into the cake portion; if it comes out clean, it’s ready. The apple topping should look shiny, bubbling, and caramelized.
Step 5: Cool and Serve
Let the cake cool slightly before cutting. This allows the caramelized apple layer to firm up just enough to slice neatly. Serve warm or at room temperature. It pairs amazingly well with a scoop of vanilla ice cream or a drizzle of warm caramel sauce.
Tips for the Best Apple Caramel Cake
Choosing the right apples makes a big difference. A mix of sweet and tart varieties gives the perfect balance of flavor. Cooking the apples before baking enhances their texture and ensures they don’t release too much liquid into the cake. Allowing the cake to rest after baking improves the flavor and makes slicing easier.
Adjust the sweetness according to preference. If you enjoy a deeper caramel flavor, increase the brown sugar in the apple mixture. For a lighter version, reduce the sugar slightly or add a splash of lemon juice to brighten the taste.
This cake can be stored in the refrigerator for several days. Warm it in the microwave for a soft and comforting dessert anytime. It also freezes well, making it convenient for meal prep or holiday planning.