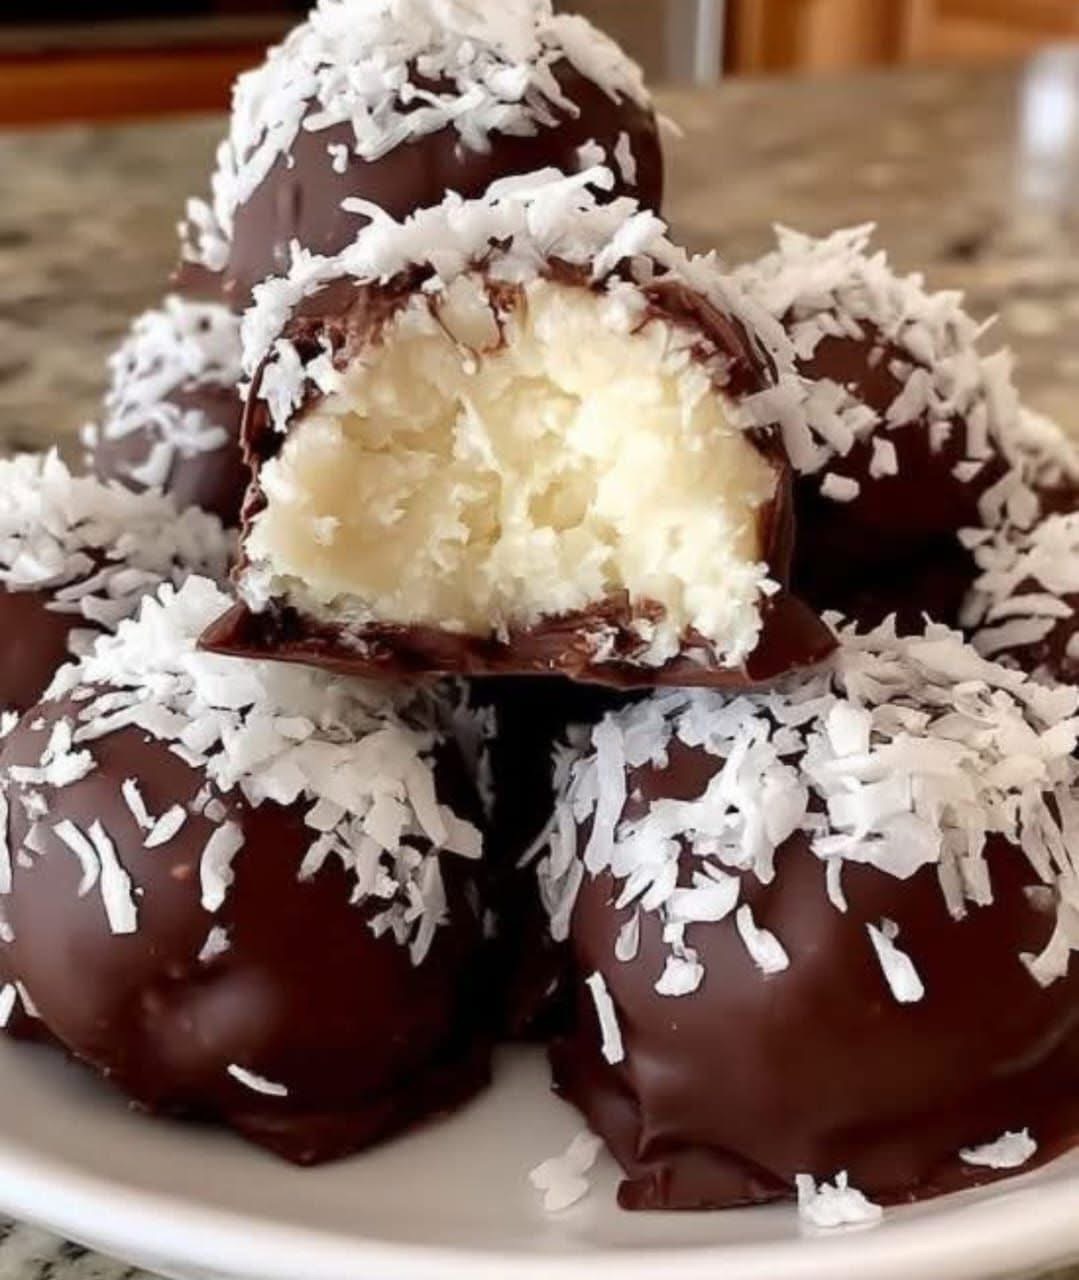
If you’re looking for an irresistibly creamy, chocolate-covered treat that requires no baking, these Coconut Chocolate Truffles are the perfect recipe to add to your dessert collection. With a soft and luscious coconut filling coated in smooth melted chocolate, they’re a guaranteed crowd-pleaser for parties, holidays, or a simple sweet craving at home. Made with just a handful of common ingredients, these truffles deliver maximum flavor with minimal effort.
This recipe brings together the tropical richness of coconut and the deep sweetness of chocolate in bite-sized form. Whether you love Bounty bars, Mounds bars, or anything coconut-chocolate inspired, these homemade truffles are even better—fresh, creamy, and customizable. They store beautifully and can be prepared in advance, making them ideal for gatherings or gifting.
Below, you’ll find a full step-by-step guide, helpful tips, variations, and storage instructions to ensure your Coconut Chocolate Truffles turn out perfect every single time.
Ingredients You Will Need
- 2 ½ cups shredded sweetened coconut
- 1 cup sweetened condensed milk
- 2 tablespoons softened butter
- 1 teaspoon vanilla extract
- 2 cups semi-sweet chocolate chips or melting chocolate
- Extra shredded coconut for topping (optional)
The combination of sweetened condensed milk and butter creates a smooth, creamy base that binds the coconut together beautifully without baking. The chocolate coating adds richness and gives the truffles their classic look and texture.
How to Make Coconut Chocolate Truffles
1. Mix the Coconut Filling
In a large mixing bowl, combine the shredded coconut, softened butter, vanilla extract, and sweetened condensed milk. Stir until the mixture becomes thick, sticky, and fully incorporated. It should easily hold its shape when pressed together.
If the mixture feels too soft, refrigerate it for 10–15 minutes to firm up.
2. Shape the Truffles
Use your hands or a small cookie scoop to form balls of coconut filling. Roll each portion between your palms to create smooth, round truffles. Place them on a parchment-lined tray.
Transfer the tray to the freezer for 20–30 minutes. This step is important—it keeps the truffles firm and makes the chocolate coating process much easier.
3. Melt the Chocolate
Melt your chocolate chips in a microwave-safe bowl in 20-second intervals, stirring between each. Alternatively, melt the chocolate using a double boiler on the stovetop for extra control and smoothness.
Ensure the chocolate is fully melted and silky before dipping the truffles.
4. Dip and Decorate
Remove the chilled truffles from the freezer. Using a fork or dipping tool, carefully lower each one into the melted chocolate. Let excess chocolate drip off, then place the coated truffles back on the parchment paper.
Before the chocolate sets, sprinkle extra shredded coconut on top for a beautiful finishing touch. This step also adds extra texture and flavor.
5. Let the Chocolate Set
Allow the truffles to rest at room temperature or refrigerate them for 10–15 minutes until the chocolate hardens completely. Once firm, they’re ready to enjoy!
Tips for Perfect Coconut Chocolate Truffles
1. Use good-quality chocolate
Higher-quality chocolate melts smoother and tastes richer. If you use chocolate bars instead of chips, chop them finely to help them melt evenly.
2. Adjust consistency if needed
If your coconut mixture feels too wet, add a little extra shredded coconut. If it feels too dry, add a spoonful of condensed milk.
3. Freeze before dipping
Don’t skip chilling the truffles—it prevents them from falling apart in the warm chocolate.
4. Work quickly
Chocolate begins to firm up as it cools. If it thickens, simply re-warm it for a few seconds.
5. Swap toppings for variety
Crushed almonds, drizzle of white chocolate, or cocoa powder make beautiful finishing touches.
Flavor Variations
• Almond Coconut Truffles
Add a single almond inside each coconut ball before dipping. It becomes a homemade version of Almond Joy.
• Dark Chocolate Coconut Truffles
Use dark chocolate for a deeper, more intense flavor and a less sweet finish.
• White Chocolate Coating
For a lighter, creamier variation, dip the truffles in melted white chocolate instead of semi-sweet.
• Chocolate-Coconut Swirl
Dip the truffles in chocolate, let them set, then drizzle with melted white chocolate for a professional look.
How to Store Coconut Chocolate Truffles
These truffles store extremely well, making them great for meal prep or gifting.
In the refrigerator:
Store in an airtight container for up to 10 days. The chocolate stays firm and the filling remains creamy.
In the freezer:
Freeze for up to 3 months. Let them thaw in the refrigerator for 20–30 minutes before serving.
At room temperature:
Safe for about 2–3 days if your home is cool. In warmer climates, refrigeration is better to prevent melting.
Why You’ll Love This Recipe
- No baking required
- Ready in under 30 minutes (plus chilling time)
- Only a few simple ingredients
- Perfect for holidays, parties, and homemade gifting
- Customizable with endless variations
- Kid-friendly and great for beginners
These truffles taste like a luxurious treat you’d buy in a specialty chocolate shop, yet they’re incredibly simple and fast to make at home.
Serving Ideas
- Serve chilled for the best texture
- Add them to holiday dessert platters
- Gift them in decorative boxes for Christmas, Valentine’s Day, Mother’s Day, or birthdays
- Pair with coffee, hot chocolate, or tea
- Use as a topping for ice cream or chocolate mousse
Final Thoughts
Coconut Chocolate Truffles are the perfect combination of sweet, creamy, and chocolaty goodness. They’re simple enough to make any day of the week but impressive enough for special occasions. With their melt-in-your-mouth texture and beautiful presentation, they’re guaranteed to become one of your favorite no-bake desserts.
If you love easy, delicious recipes, this one is definitely worth trying. Enjoy every bite!