Introduction
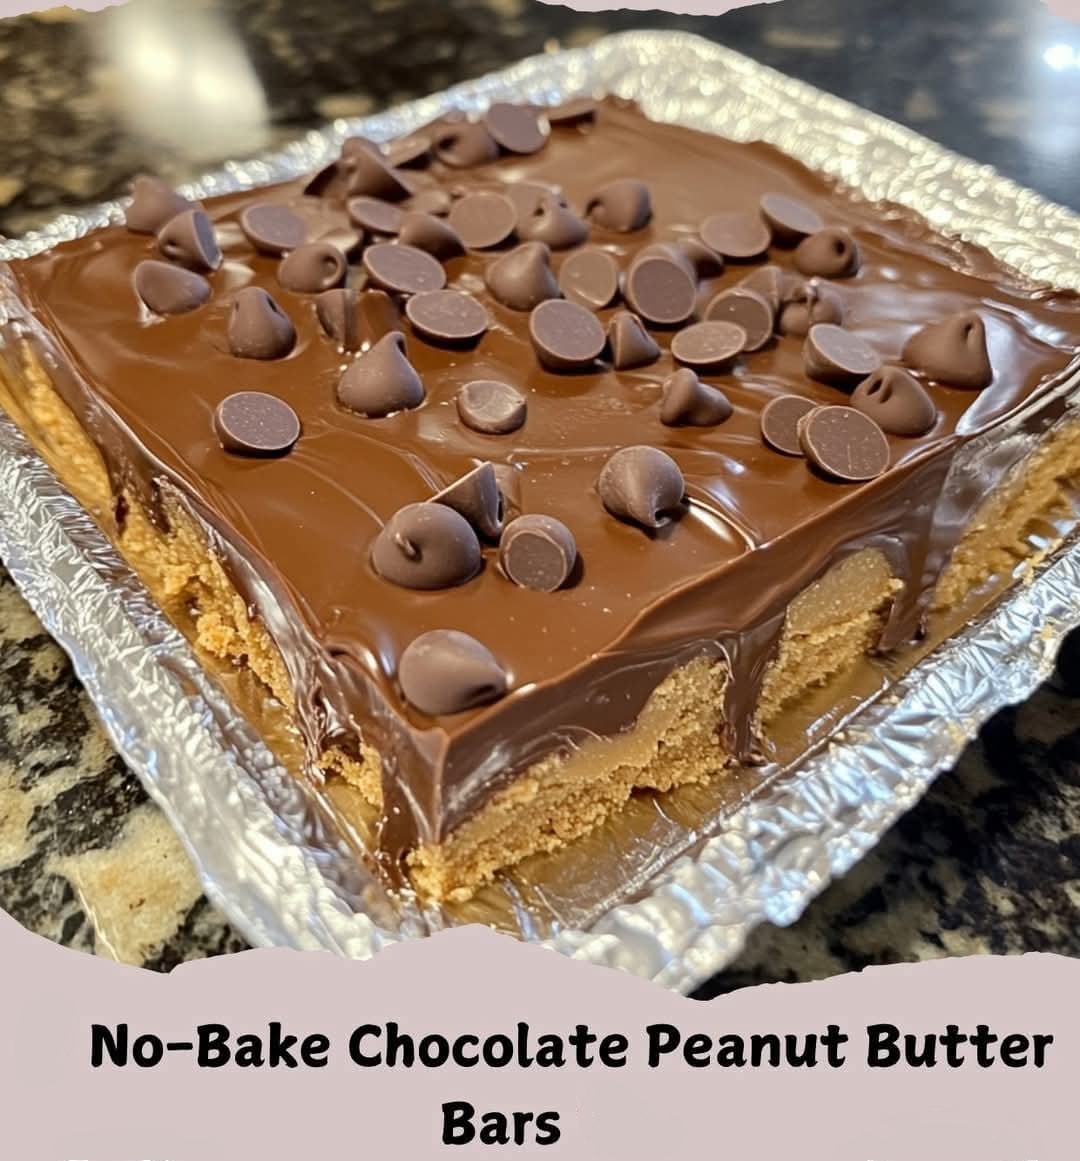
No-bake desserts have become increasingly popular for their convenience, versatility, and ability to deliver delicious results without requiring an oven. Among the crowd favorites are No-Bake Chocolate Peanut Butter Bars, a dessert that perfectly combines the creamy richness of peanut butter with the indulgent sweetness of chocolate. These bars are quick to prepare, require minimal ingredients, and are ideal for any occasion. Whether you’re hosting a party, treating your kids, or simply satisfying a sweet tooth, these bars promise to be a crowd-pleaser.
In this blog post, we’ll dive deep into the origins, cultural significance, and every aspect of these delectable treats. From precise ingredient quantities to optional tweaks, helpful tips, and detailed instructions, we’ll ensure you have everything you need to make these bars a staple in your dessert repertoire.
Origin and Cultural Significance
The love affair between chocolate and peanut butter is a tale as old as modern desserts. Peanut butter, a distinctly American creation, was first introduced in the late 19th century as a high-protein health food. It wasn’t long before its versatility made it a star ingredient in a variety of sweet and savory recipes.
The introduction of no-bake recipes gained traction in the mid-20th century as busy households sought quick and simple desserts. The combination of peanut butter and chocolate became an instant hit, with recipes like these bars appearing in community cookbooks, potluck gatherings, and family kitchens. Today, these bars have transcended cultural boundaries, symbolizing comfort, nostalgia, and the universal love for decadent treats.
Ingredients Quantity
The magic of No-Bake Chocolate Peanut Butter Bars lies in their simplicity. Here’s what you’ll need:
Peanut Butter Base:
- 1 cup creamy peanut butter (use a no-stir variety for best results)
- 1/2 cup unsalted butter, melted
- 1/4 teaspoon vanilla extract
- 2 cups powdered sugar, sifted
- 1 1/2 cups graham cracker crumbs
Chocolate Topping:
- 1 cup semi-sweet chocolate chips
- 2 tablespoons peanut butter
- Pinch of sea salt (optional, for a gourmet twist)
These quantities are perfectly portioned for an 8×8-inch pan, yielding 16 satisfying bars. Adjust the recipe as needed for larger or smaller batches.
Optional Additions
While the classic recipe is irresistible, you can customize it to suit your taste preferences or dietary needs. Here are some ideas:
- Crunchy Texture: Add 1/4 cup chopped peanuts or crispy rice cereal to the base for added crunch.
- Sweeter Touch: Drizzle white chocolate or caramel over the chocolate layer for extra indulgence.
- Healthier Options: Swap out graham cracker crumbs for oat flour or almond flour to reduce refined carbs.
- Spicy Kick: Sprinkle a dash of cayenne or cinnamon into the chocolate topping for a unique flavor profile.
- Nut-Free Variation: Replace peanut butter with sunflower seed butter for an allergy-friendly alternative.
Tips for Success
While this recipe is beginner-friendly, these tips can help ensure perfect results every time:
- Choose Quality Ingredients: Since there are few components, the flavor depends on the quality of your peanut butter, chocolate, and graham crackers.
- Mix Thoroughly: Ensure the peanut butter base is well-combined for a consistent texture and flavor in every bite.
- Chill Effectively: Let the layers set fully in the refrigerator before slicing to avoid a messy finish.
- Use Parchment Paper: Line your pan with parchment paper for easy removal and clean slicing.
- Cut Cleanly: Use a sharp knife warmed slightly in hot water for clean, professional-looking edges.
Instructions
- Make the Peanut Butter Base:
In a large mixing bowl, combine melted butter, peanut butter, and vanilla extract. Stir until the mixture is smooth. Gradually add powdered sugar and graham cracker crumbs, mixing until a thick, pliable dough forms. - Prepare the Pan:
Grease or line an 8×8-inch pan with parchment paper. Press the peanut butter mixture firmly into the pan, smoothing it evenly with a spatula or the back of a spoon. Refrigerate for 15–20 minutes while preparing the topping. - Make the Chocolate Topping:
In a microwave-safe bowl, combine chocolate chips and peanut butter. Heat in 20-second intervals, stirring between each, until fully melted and smooth. Add a pinch of sea salt if desired for a sophisticated flavor. - Assemble the Bars:
Pour the melted chocolate mixture over the chilled peanut butter base, spreading it evenly with a spatula. - Chill and Set:
Return the pan to the refrigerator for at least 1 hour, or until the chocolate layer is firm. - Slice and Serve:
Lift the bars out of the pan using the parchment paper. Slice into squares or rectangles with a sharp knife. Serve chilled or at room temperature for a decadent treat.
Description
These bars boast a rich and creamy peanut butter base, perfectly complemented by a smooth, glossy chocolate topping. The graham cracker crumbs add a subtle crunch, balancing the sweetness with a slight nuttiness. Each bite melts in your mouth, offering a delightful combination of textures and flavors that leave you craving more.
Nutritional Information
Here’s the approximate nutritional breakdown per bar (based on 16 servings):
- Calories: 220
- Protein: 4g
- Fat: 14g
- Carbohydrates: 20g
- Fiber: 1g
- Sugar: 15g
- Sodium: 80mg
For a lighter option, reduce the powdered sugar or substitute with a natural sweetener like stevia or erythritol.
Conclusion and Recommendation
No-Bake Chocolate Peanut Butter Bars are the ultimate solution for anyone seeking a quick, indulgent dessert. Their simple preparation, rich flavor, and endless customization options make them a go-to treat for all occasions. Pair them with a glass of milk or coffee for the perfect snack.
Embracing Healthful Indulgence
Desserts don’t have to be guilty pleasures. With a few thoughtful substitutions, you can enjoy these bars while maintaining a balanced lifestyle. Swap heavy ingredients for lighter alternatives, or incorporate nutrient-dense additions like chia seeds or flaxseed. Embrace the joy of baking with recipes that bring both flavor and mindfulness to your plate.
