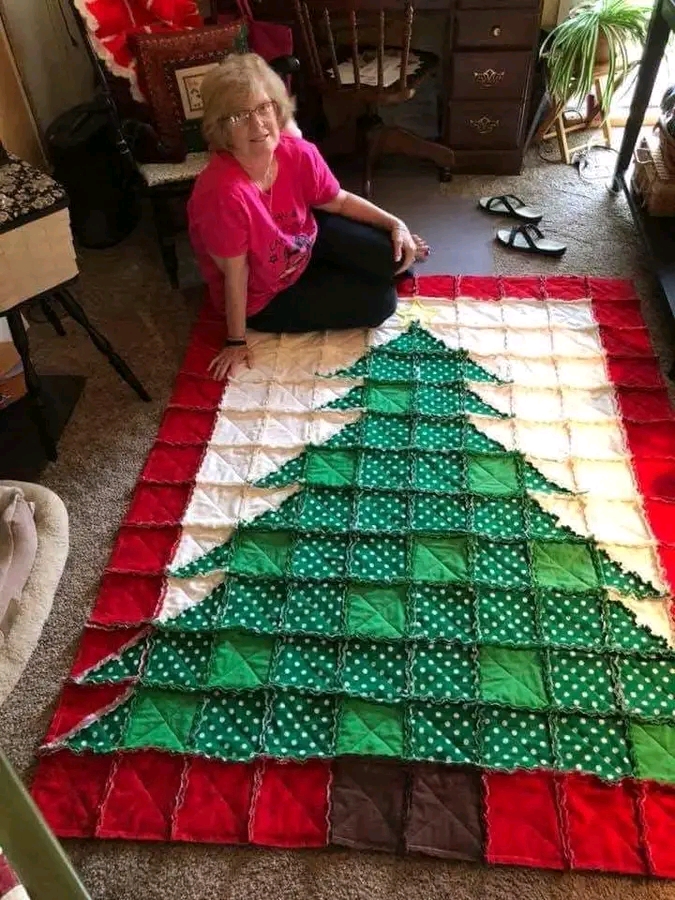
Creating a Festive Christmas Rug: A Step-by-Step Guide
Introduction:
Adding a handmade Christmas rug to your home can bring warmth and festive cheer to your space. This guide will walk you through the process of creating a beautiful Christmas-themed rug, perfect for the holiday season.
Materials Needed:
- Fabric Scraps: Collect a variety of fabric scraps in Christmas colors like red, green, white, and gold.
- Backing Fabric: A sturdy fabric to serve as the base of your rug.
- Batting: Provides padding and thickness to your rug.
- Thread: Matching the colors of your fabric scraps.
- Sewing Machine: For stitching the fabric pieces together.
- Scissors or Rotary Cutter: For cutting the fabric into strips.
- Quilting Ruler: Helps in measuring and cutting fabric accurately.
- Pins: To hold the fabric pieces in place while sewing.
- Iron and Ironing Board: For pressing the fabric and seams.
Step-by-Step Instructions:
- Design Your Rug:
- Sketch out your design on paper or use a digital design tool. A simple Christmas tree or a festive pattern works well.
- Cut the Fabric:
- Cut the fabric scraps into strips or squares, depending on your design. Aim for uniformity in size for a cohesive look.
- Assemble the Rug Top:
- Lay out the fabric pieces according to your design. Start with the main elements, like the Christmas tree, and fill in with background colors.
- Sew the fabric pieces together in rows, pressing the seams open with an iron as you go.
- Sew the rows together to complete the rug top.
- Layer the Rug:
- Lay the backing fabric right side down on a flat surface.
- Place the batting on top of the backing fabric.
- Lay the rug top right side up on top of the batting.
- Smooth out any wrinkles and pin the layers together.
- Quilt the Layers:
- Use your sewing machine to quilt the layers together. You can use a simple straight stitch or a decorative pattern.
- Bind the Rug:
- Trim any excess batting and backing fabric.
- Cut strips of fabric for the binding and sew them together to form one long strip.
- Fold the binding strip in half lengthwise and press with an iron.
- Sew the binding to the edges of the rug, folding the corners neatly.
- Finishing Touches:
- Inspect the rug for any loose threads and trim them.
- Give the rug a final press with the iron.
Conclusion:
Creating a Christmas rug is a rewarding project that adds a personal touch to your holiday decor. By following these steps and using the materials listed, you can create a festive rug that will be cherished for years to come. Happy crafting!
I hope this helps! Do you have any specific design ideas in mind for your Christmas rug?
