Here you will find the delicious blend of peanut butter, graham crackers, and the world-famous Butterfinger candy bars, taking your taste senses on a tantalizing adventure. The next time you have a party, holiday get-together, or even just a Tuesday, serve these Butterfinger Balls. The pinnacle of finger food decadence, they’re fast and delicious. All set to dive in? Here we go!
Why Are Butterfinger Balls Different From Regular Peanut Bars?
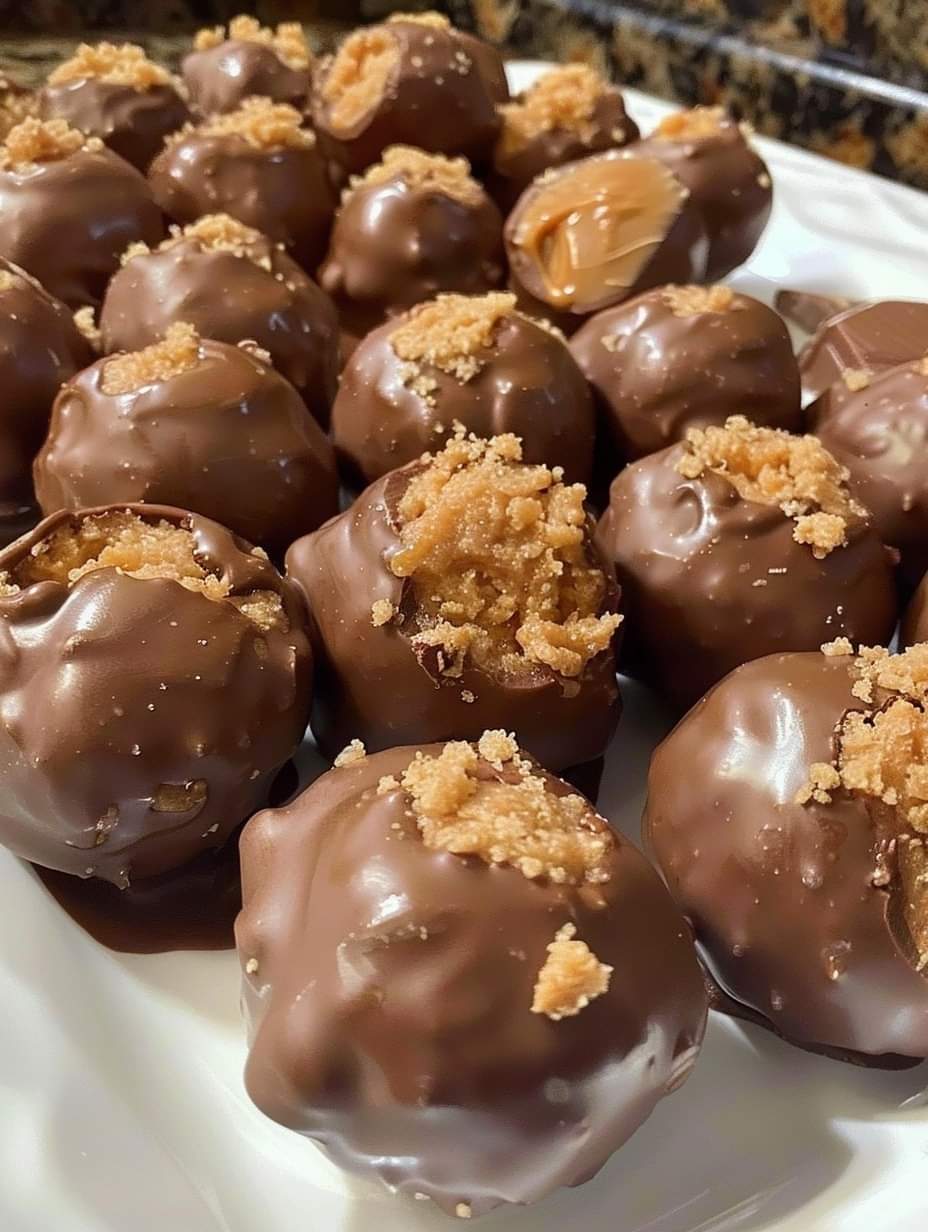
The distinctive taste profile is definitely the deciding factor! Imagine peanut butter bars made with graham crackers—but with a twist—in the form of Butterfinger Balls. Crushed Butterfinger candies take it to a whole new level of irresistible deliciousness.
How Can You Get That Ideal Texture?
The key lies in the harmony of components. The combination of creamy peanut butter for a smooth foundation and the necessary texture provided by graham crackers elevates these peanut butter treats to a whole new level. To get the right consistency, add more graham crackers if you’re using natural peanut butter.
The ezoic
The Chocolate Coating—What Is It?
Ah, the crowning glory! In this context, “tempered chocolate” refers to the procedure that guarantees a glossy and crisp chocolate covering. To get that velvety sheen, try melting wafers or chocolate bark. As an alternative, you may use tempered chocolate chips if you happen to have any on hand. This is the magic ingredient that turns your Butterfinger Balls into irresistible butterfinger cups.
Is It Possible to Personalize These Butterfinger Bites?
Without a doubt! Go ahead and unleash your inner chef. The possibilities are endless; you may use whatever candy bar you choose instead of Butterfingers or add some seasonal sprinkles. You may show off your culinary skills with these Butterfinger Balls since they are as adaptable as they are tasty.
Please Tell Me How to Properly Keep These Mouth-Watering Balls.
Fortunately, they are delightful low-maintenance options. They have a shelf life of three to four weeks in the refrigerator if sealed tightly. Put wax or parchment paper between each layer to keep them from adhering. Prefer to save some for a later time? You can make these peanut butter snack recipes ahead of time and store them in the freezer for up to six months.
Is it Possible to Prepare These Butterfinger Balls in Advance?
Of course! The ideal sweets to prepare in advance are these. Make the balls ahead of time and put them in the freezer. When it’s time to serve, just dip them in tempered chocolate. Either leave them out at room temperature to defrost or gently place them in the fridge overnight to thaw slowly.
The ezoic
Everything you needed to know to make your very own Butterfinger Balls is right there. This no-bake treat goes above and beyond the usual peanut bar by offering a delightful combination of crunchy and creamy textures, all wrapped up in a beautiful chocolate coating. You won’t regret trying it; your palate will beg you!
INGREDIENTS
4-tbsp. of melted butter 1/4 stick
1-tsp. vanilla essence
Eight ounces of chocolate chips or bark
two-thirds cup of crumbled Butterfinger bars
1/2 cup of powdered sugar
1-cup jar of peanut butter stay away from organic options
3/4 cup of graham cracker crumbs
Extra crushed Butterfinger bars, festive sprinkles, or coarse sea salt are optional garnishes.
INSTRUCTIONS
Get the Dough Started: Melt the butter and whisk in the peanut butter in a mixing dish. Blend until smooth and creamy, using an electric or stand mixer set on medium speed.
Flavor with Aromatics: Stir in the vanilla essence and mix well.
Put the Finishing Touch on It by Adding Powdered Sugar Gradually While Blending on Low Speed. To make sure everything is mixed evenly, scrape down the bowl edges.
Crunch Time: Carefully combine the crumbled Butterfinger bars and graham cracker crumbs.
Prepare Them: Spread out a large baking sheet with kitchen parchment. Measure out about 1 to 1½ teaspoons of dough, shape it into tidy balls, and set them on a baking sheet.
Step 4: Chill the dough by placing the balls in the freezer for about 30 minutes, or until they are rock solid.
After the dough balls have cooled, you may begin to melt the chocolate for the chocolate symphony. In a bowl that can be safely heated in the microwave, cook for 30 seconds at 50% power, stirring after each interval. Overheating might cause lumps to form, but don’t worry—they’ll melt as you mix.
Apply Finishing Touches: Melt the chocolate and dip each cold ball in it. You have the option to completely cover them or leave some peanut butter mixture showing.
Sprinkle some more crushed Butterfinger bars on top, or use holiday-themed sprinkles. For an added kick, add a pinch of flaky sea salt.
Indulge in your Butterfinger Bliss Balls just after the chocolate has solidified, the grand finale.
Reminders: These treats will keep in the fridge for up to a week if sealed properly.
Natural peanut butters might be very greasy, so it’s b